ARM架构麒麟系统下,使用docker部署安装LAMP环境
原创
ARM架构麒麟系统下,使用docker部署安装LAMP环境
原创
KunkkaWu
发布于 2024-06-03 18:29:46
发布于 2024-06-03 18:29:46
TOC
简介
Kylin麒麟系统
Kylin操作系统是一个中国自主知识产权操作系统,是国家高技术研究发展计划(863计划)的重大成果之一,是以国防科技大学为主导,与中软、联想等单位联合设计和开发的基于Linux的系统,可支持多种微处理器和多种计算机体系结构,具有高性能、高可用性和高安全性,并与Linux应用二进制兼容的国产中文服务器操作系统。
Kylin操作系统,支持多种架构的处理器x86、IA64、AMD、SPARC等。目前政府等机关单位常见部署的版本是:银河麒麟操作系统v10, 全面支持飞腾、龙芯、申威、兆芯、海光、鲲鹏、海思麒麟等主流国产CPU平。 因此,我们见到的比较多的情况下使用的都是国产CPU,而这些CPU以ARM架构居多。
ARM架构
对于企业和公司来说,常见部署的应用服务器都是Inter或者AMD的CPU,这些CPU都是x86架构的。 我们可以像平时一样使用那些熟悉的命令去安装或者运行一些软件。 但是这些软件和命令拿到 ARM架构的CPU上就会无法运行起来。
通常情况下,很多常用地系统和软件都会针对
x86架构和ARM架构,都出提供相应的版本供下载。
需求
对多台ARM架构安装了麒麟操作系统服务器中安装LAMP(centos7,apache,mysql, php)。
安装
为了方便移植和批量部署,因此使用 docker镜像的方式安装。
查看操作系统架构
[root@ArmServer docker]# uname -m
aarch64
1. 安装docker
docker 安装包地址
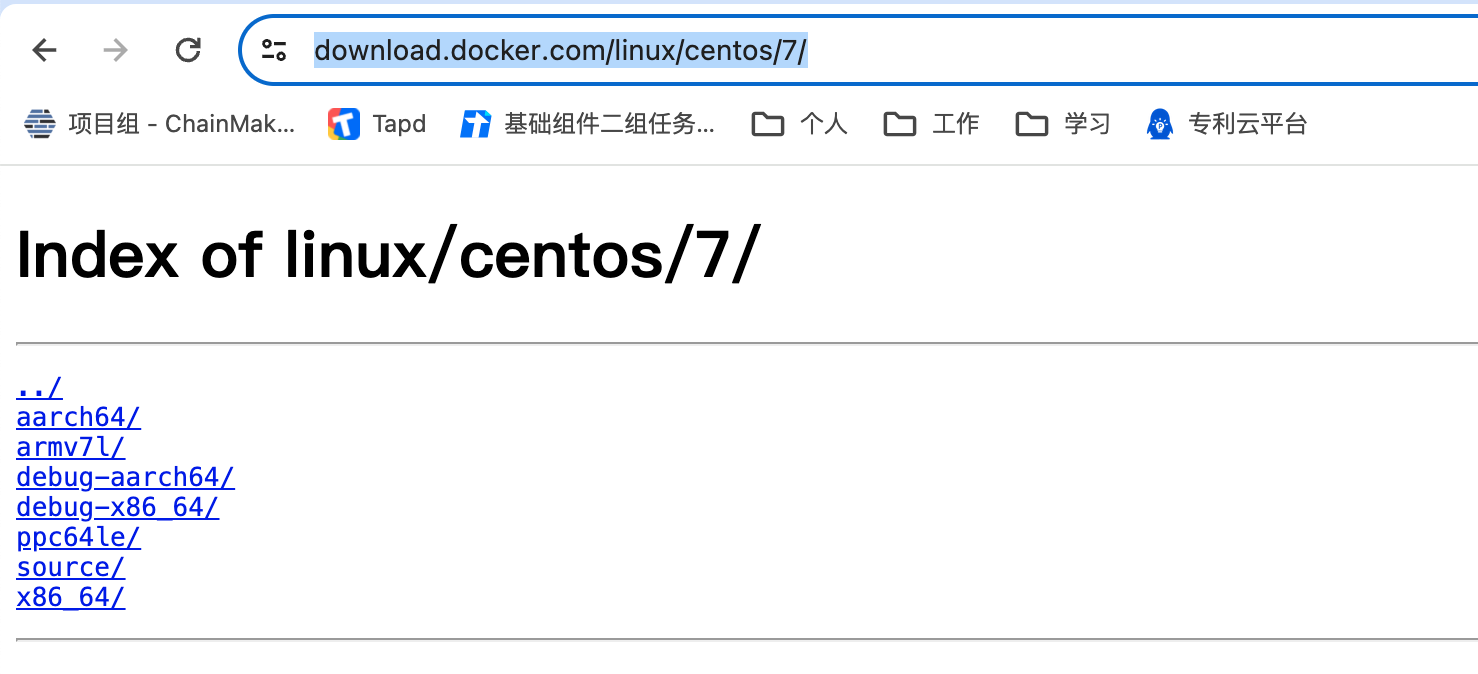
image
下载安装包:
wget https://download.docker.com/linux/static/stable/aarch64/docker-20.10.7.tgz准备docker.service文件
vi docker.service将下面的内容,全部写入docker.service文件中
docker.service

[Unit]
Description=Docker Application Container Engine
Documentation=https://docs.docker.com
After=network-online.target firewalld.service
Wants=network-online.target

[Service]
Type=notify
# the default is not to use systemd for cgroups because the delegate issues still
# exists and systemd currently does not support the cgroup feature set required
# for containers run by docker
ExecStart=/usr/bin/dockerd
ExecReload=/bin/kill -s HUP $MAINPID
# Having non-zero Limit*s causes performance problems due to accounting overhead
# in the kernel. We recommend using cgroups to do container-local accounting.
LimitNOFILE=infinity
LimitNPROC=infinity
LimitCORE=infinity
# Uncomment TasksMax if your systemd version supports it.
# Only systemd 226 and above support this version.
#TasksMax=infinity
TimeoutStartSec=0
# set delegate yes so that systemd does not reset the cgroups of docker containers
Delegate=yes
# kill only the docker process, not all processes in the cgroup
KillMode=process
# restart the docker process if it exits prematurely
Restart=on-failure
StartLimitBurst=3
StartLimitInterval=60s

[Install]
WantedBy=multi-user.target
安装
# 解压 docker 到当前目录
tar -xvf docker-20.10.7.tgz

# 将 docker 文件移动到 /usr/bin 目录下
cp -p docker/* /usr/bin

# 将 docker.service 移到 /etc/systemd/system/ 目录
cp docker.service /etc/systemd/system/

# 设置 docker.service 文件权限
chmod +x /etc/systemd/system/docker.service

# 重新加载配置文件
systemctl daemon-reload

# 启动docker
systemctl start docker

# 设置 docker 开机自启
systemctl enable docker.service
验证安装是否成功
[root@ArmServer bin]# docker -v
Docker version 20.10.7, build f0df350
2. 在docker中安装centos7
拉取镜像
docker pull centos:7启动容器
使用普通的模式启动容器,在容器内部操作的时候,很容易报错:Failed to get D-Bus connection: Operation not permitted
原因: D-Bus是一个用于在Linux系统上进行进程间通信的系统总线。而
systemctl命令用于管理系统服务,并且通常依赖于D-Bus进程间通信系统。然而,在Docker容器中,默认情况下并没有运行D-Bus服务,因此无法建立与D-Bus的连接。
因此,以特权模式运行容器,添加参数 --privileged=true,entrypoint 设置为 /usr/sbin/init
docker run -itd --name centos7 --privileged=true -p 80:80 centos:centos7 /usr/sbin/init3. 容器中安装Mysql8.0
PS: mysql5.7 版本,不支持arm架构。
官网下载ARM版本mysql
下载地址: https://dev.mysql.com/downloads/mysql/
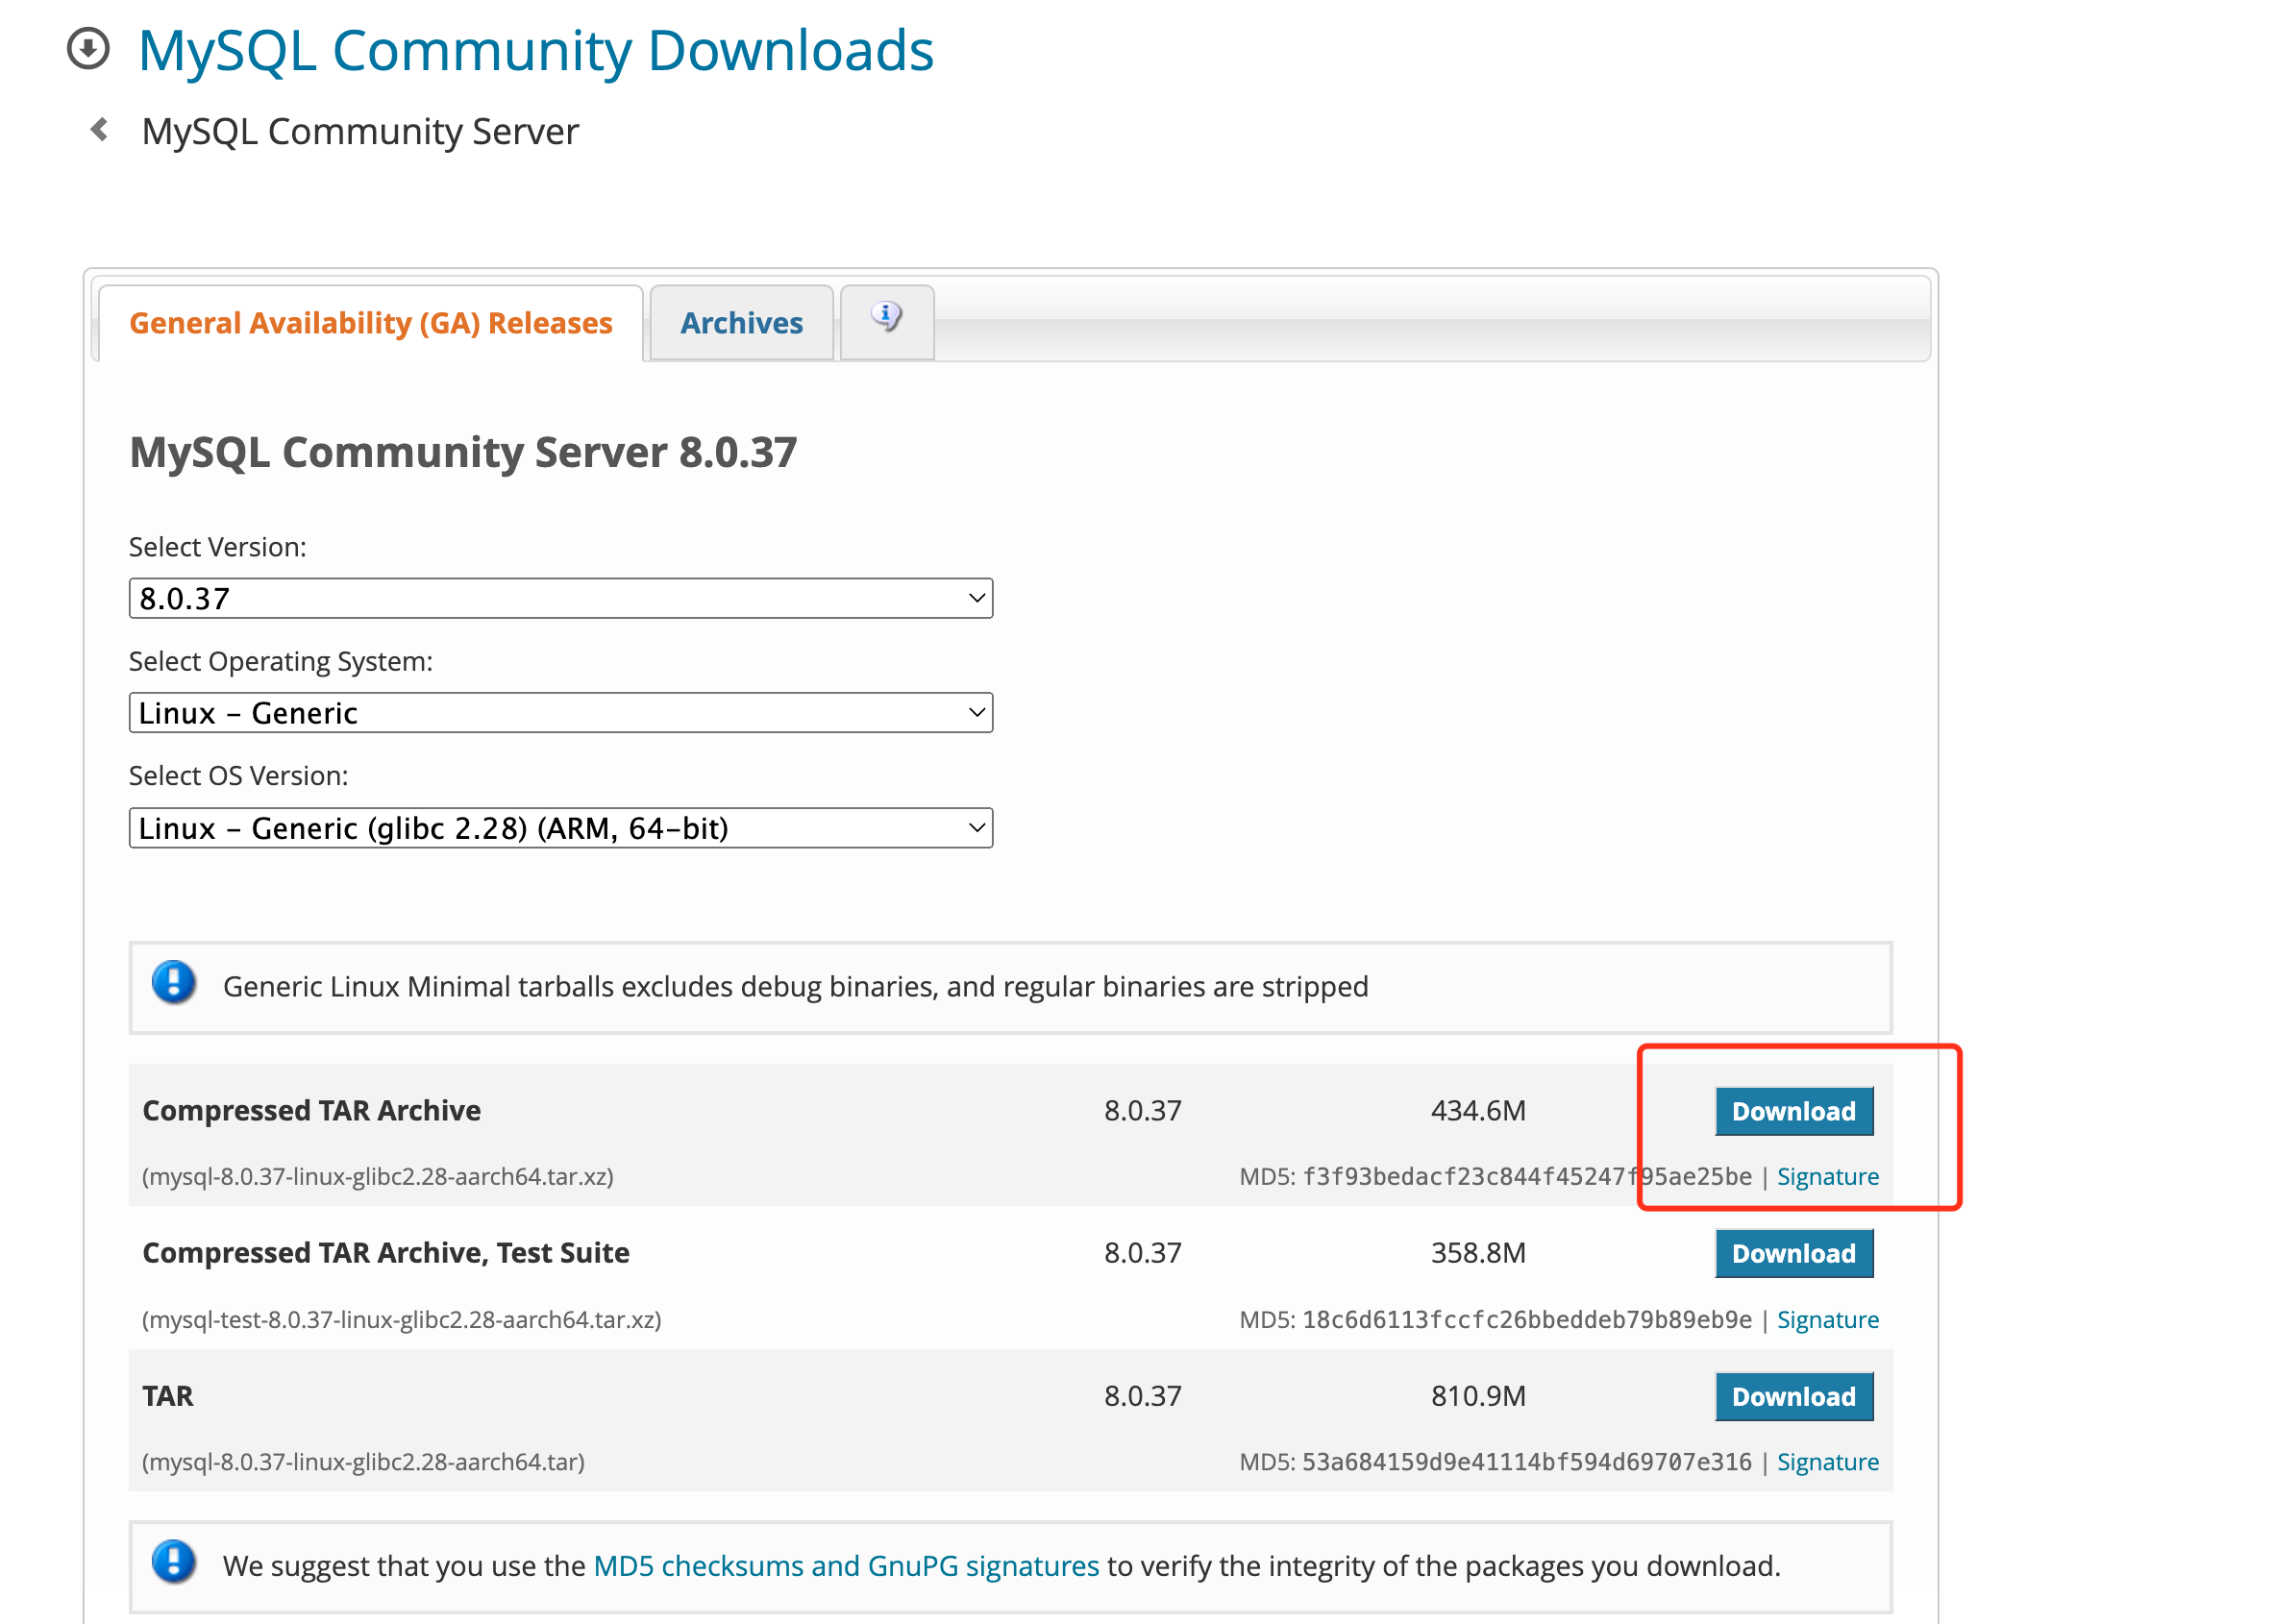
image
安装
# 解压安装包:
tar xvf mysql-8.0.37-linux-glibc2.17-aarch64.tar.gz

#将解压后的文件MV到/usr/local/路径下:
mv mysql-8.0.37-linux-glibc2.17-aarch64 /usr/local/

#修改文件夹名称:
mv mysql-8.0.37-linux-glibc2.17-aarch64 mysql

#创建mysql用户:
root@MyHost:/usr/local/mysql# useradd -s /sbin/nologin mysql

#创建数据目录:
root@MyHost:/usr/local/mysql# mkdir data

#创建日志目录:
root@MyHost:/usr/local/mysql# mkdir logs

#给mysql运行目录授权:
root@MyHost:/usr/local# chown mysql:mysql -R /usr/local/mysql
生成mysql配置文件
创建配置文件:vi /etc/my.cnf,并将下面配置写入配置文件
[mysqld]
bind-address=0.0.0.0
port=3306
user=mysql
basedir=/usr/local/mysql
datadir=/usr/local/mysql/data
socket=/tmp/mysql.sock
log-error=/usr/local/mysql/logs/mysql.err
pid-file=/usr/local/mysql/mysql.pid
#character config
character_set_server=utf8mb4
symbolic-links=0
初始化mysql
root@MyHost:~# cd /usr/local/mysql/bin/
root@MyHost:/usr/local/mysql/bin# ./mysqld --defaults-file=/etc/my.cnf --basedir=/usr/local/mysql --datadir=/usr/local/mysql/data --user=mysql --initialize如果遇到报错:./mysqld: error while loading shared libraries: libnuma.so.1: cannot open shared object file: No such file or directory
安装numactl即可
yum install numactl从mysql日志中查看登录初始密码
cat /usr/local/mysql/logs/mysql.err
2023-08-09T15:12:46.069128Z 1 [System] [MY-013576] [InnoDB] InnoDB initialization has started.
2023-08-09T15:12:47.608261Z 1 [System] [MY-013577] [InnoDB] InnoDB initialization has ended.
2023-08-09T15:12:52.225033Z 6 [Note] [MY-010454] [Server] A temporary password is generated for root@localhost: ApDyiwczq4+V
启动mysql
cp /usr/local/mysql/support-files/mysql.server /etc/init.d/mysql
service mysql start
修改登录密码
root@MyHost:~# /usr/local/mysql/bin/mysql -uroot -p
Enter password:

Welcome to the MySQL monitor. Commands end with ; or \g.
Your MySQL connection id is 8
Server version: 8.0.32

Copyright (c) 2000, 2023, Oracle and/or its affiliates.

Oracle is a registered trademark of Oracle Corporation and/or its
affiliates. Other names may be trademarks of their respective
owners.

Type 'help;' or '\h' for help. Type '\c' to clear the current input statement.

mysql>
mysql> alter user user() identified by 'Admin123.';
Query OK, 0 rows affected (0.05 sec)

mysql>
4. 容器中安装apache
yum install httpd -y安装apxs2工具
yum install httpd-devel启动httpd
systemctl start httpd开启rewrite
编辑apache的配置文件,通常在 /etc/httpd/conf/httpd.conf位置。
将httpd.conf配置文件中<Directory /var/www/html> 内的 AllowOverride None 改为 AllowOverride All
开启rewrite模块: 添加LoadModule rewrite_module modules/mod_rewrite.so
5. 容器中安装php7
环境准备
编译安装 CMake 3.16.2
# 1、准备编译环境
[root@Pi4B ~]# yum -y install gcc gcc-c++ openssl openssl-devel tar
# 2、获取源码,并解压
[root@Pi4B ~]# wget https://github.com/Kitware/CMake/releases/download/v3.16.2/cmake-3.16.2.tar.gz
[root@Pi4B ~]# tar -zxf cmake-3.16.2.tar.gz
[root@Pi4B ~]# cd cmake-3.16.2
# 备用下载地址:https://down.24kplus.com/linux/cmake/cmake-3.16.2.tar.gz
# 3、编译安装
[root@Pi4B ~]# ./bootstrap --prefix=/usr --datadir=share/cmake --docdir=doc/cmake && make
[root@Pi4B ~]# make install
# 4、检查是否正确安装
[root@Pi4B ~]# cmake --version
配置安装环境
# 安装依赖包
[root@Pi4B ~]# yum -y install libxml2-devel openssl openssl-devel curl curl-devel libjpeg libjpeg-devel freetype freetype-devel libpng libpng-devel libxslt libxslt-devel pcre pcre-devel bzip2 bzip2-devel

# 准备libzip
[root@Pi4B ~]# cd /home
[root@Pi4B ~]# wget https://libzip.org/download/libzip-1.5.1.tar.gz
[root@Pi4B ~]# tar -zxvf libzip-1.5.1.tar.gz
[root@Pi4B ~]# cd libzip-1.5.1
[root@Pi4B ~]# mkdir build
[root@Pi4B ~]# cd build
[root@Pi4B ~]# cmake ..
[root@Pi4B ~]# make && make install
[root@Pi4B ~]# make -j8 && make install
# 配置变量:
[root@Pi4B ~]# echo '/usr/local/lib64
/usr/local/lib
/usr/lib
/usr/lib64'>>/etc/ld.so.conf
# 更新配置
[root@Pi4B ~]# ldconfig -v
下载php7
[root@Pi4B ~]# cd /home
[root@Pi4B ~]# wget https://www.php.net/distributions/php-7.3.15.tar.gz
[root@Pi4B ~]# tar -zxvf php-7.3.15.tar.gz
[root@Pi4B ~]# cd php-7.3.15
安装php7
./configure --prefix=/usr/local/php --with-config-file-path=/usr/local/php/etc --with-apxs2=/usr/bin/apxs --enable-mbstring --enable-zip --enable-bcmath --enable-pcntl --enable-sockets --with-curl --with-gd --with-jpeg-dir --with-png-dir --with-freetype-dir --with-openssl --with-mysqli --with-pdo-mysql --with-mhash --enable-opcache --enable-fpm --with-fpm-user=www --with-fpm-group=www

#检测CPU数量:
[root@Pi4B ~]# cat /proc/cpuinfo| grep "processor"| wc -l
[root@Pi4B ~]# make -j[后跟CPU数量] && make install
[root@Pi4B ~]# make -j2 && make install
安装完成
# 1.建立软链接:
[root@Pi4B ~]# ln -s /usr/local/php/sbin/php-fpm /usr/local/bin
[root@Pi4B ~]# ln -s /usr/local/php/bin/php /usr/bin/php
# 查看版本:
[root@Pi4B ~]# php -v
PHP 7.3.15 (cli) (built: Jan 23 2022 12:17:00) ( NTS )
Copyright (c) 1997-2018 The PHP Group
Zend Engine v3.3.15, Copyright (c) 1998-2018 Zend Technologies
6. 可能遇到的问题
连接MYSQL8.0失败,提示caching_sha2_password错误
原因: 从MySQL 8.0.4开始,MySQL服务器的默认身份验证插件从mysql_native_password更改为caching_sha2_password。相应地,libmysqlclient现在也将caching_sha2_password用作默认身份验证机制。
解决
命令行登录mysql后
修改权限: ALTER USER 'root'@'localhost' IDENTIFIED WITH mysql_native_password BY '新密码';
刷新权限: FLUSH privileges;
如果还有问题,修改配置文件 /etc/my.cnf,添加 default_authentication_plugin=mysql_native_password,修改身份验证机制后,重启mysql即可
参考文献
原创声明:本文系作者授权腾讯云开发者社区发表,未经许可,不得转载。
如有侵权,请联系 cloudcommunity@tencent.com 删除。
原创声明:本文系作者授权腾讯云开发者社区发表,未经许可,不得转载。
如有侵权,请联系 cloudcommunity@tencent.com 删除。
评论
登录后参与评论
推荐阅读
目录
腾讯云开发者

Copyright © 2013 - 2026 Tencent Cloud. All Rights Reserved. 腾讯云 版权所有
深圳市腾讯计算机系统有限公司 ICP备案/许可证号:粤B2-20090059 ![]() 粤公网安备44030502008569号
粤公网安备44030502008569号
腾讯云计算(北京)有限责任公司 京ICP证150476号 | 京ICP备11018762号