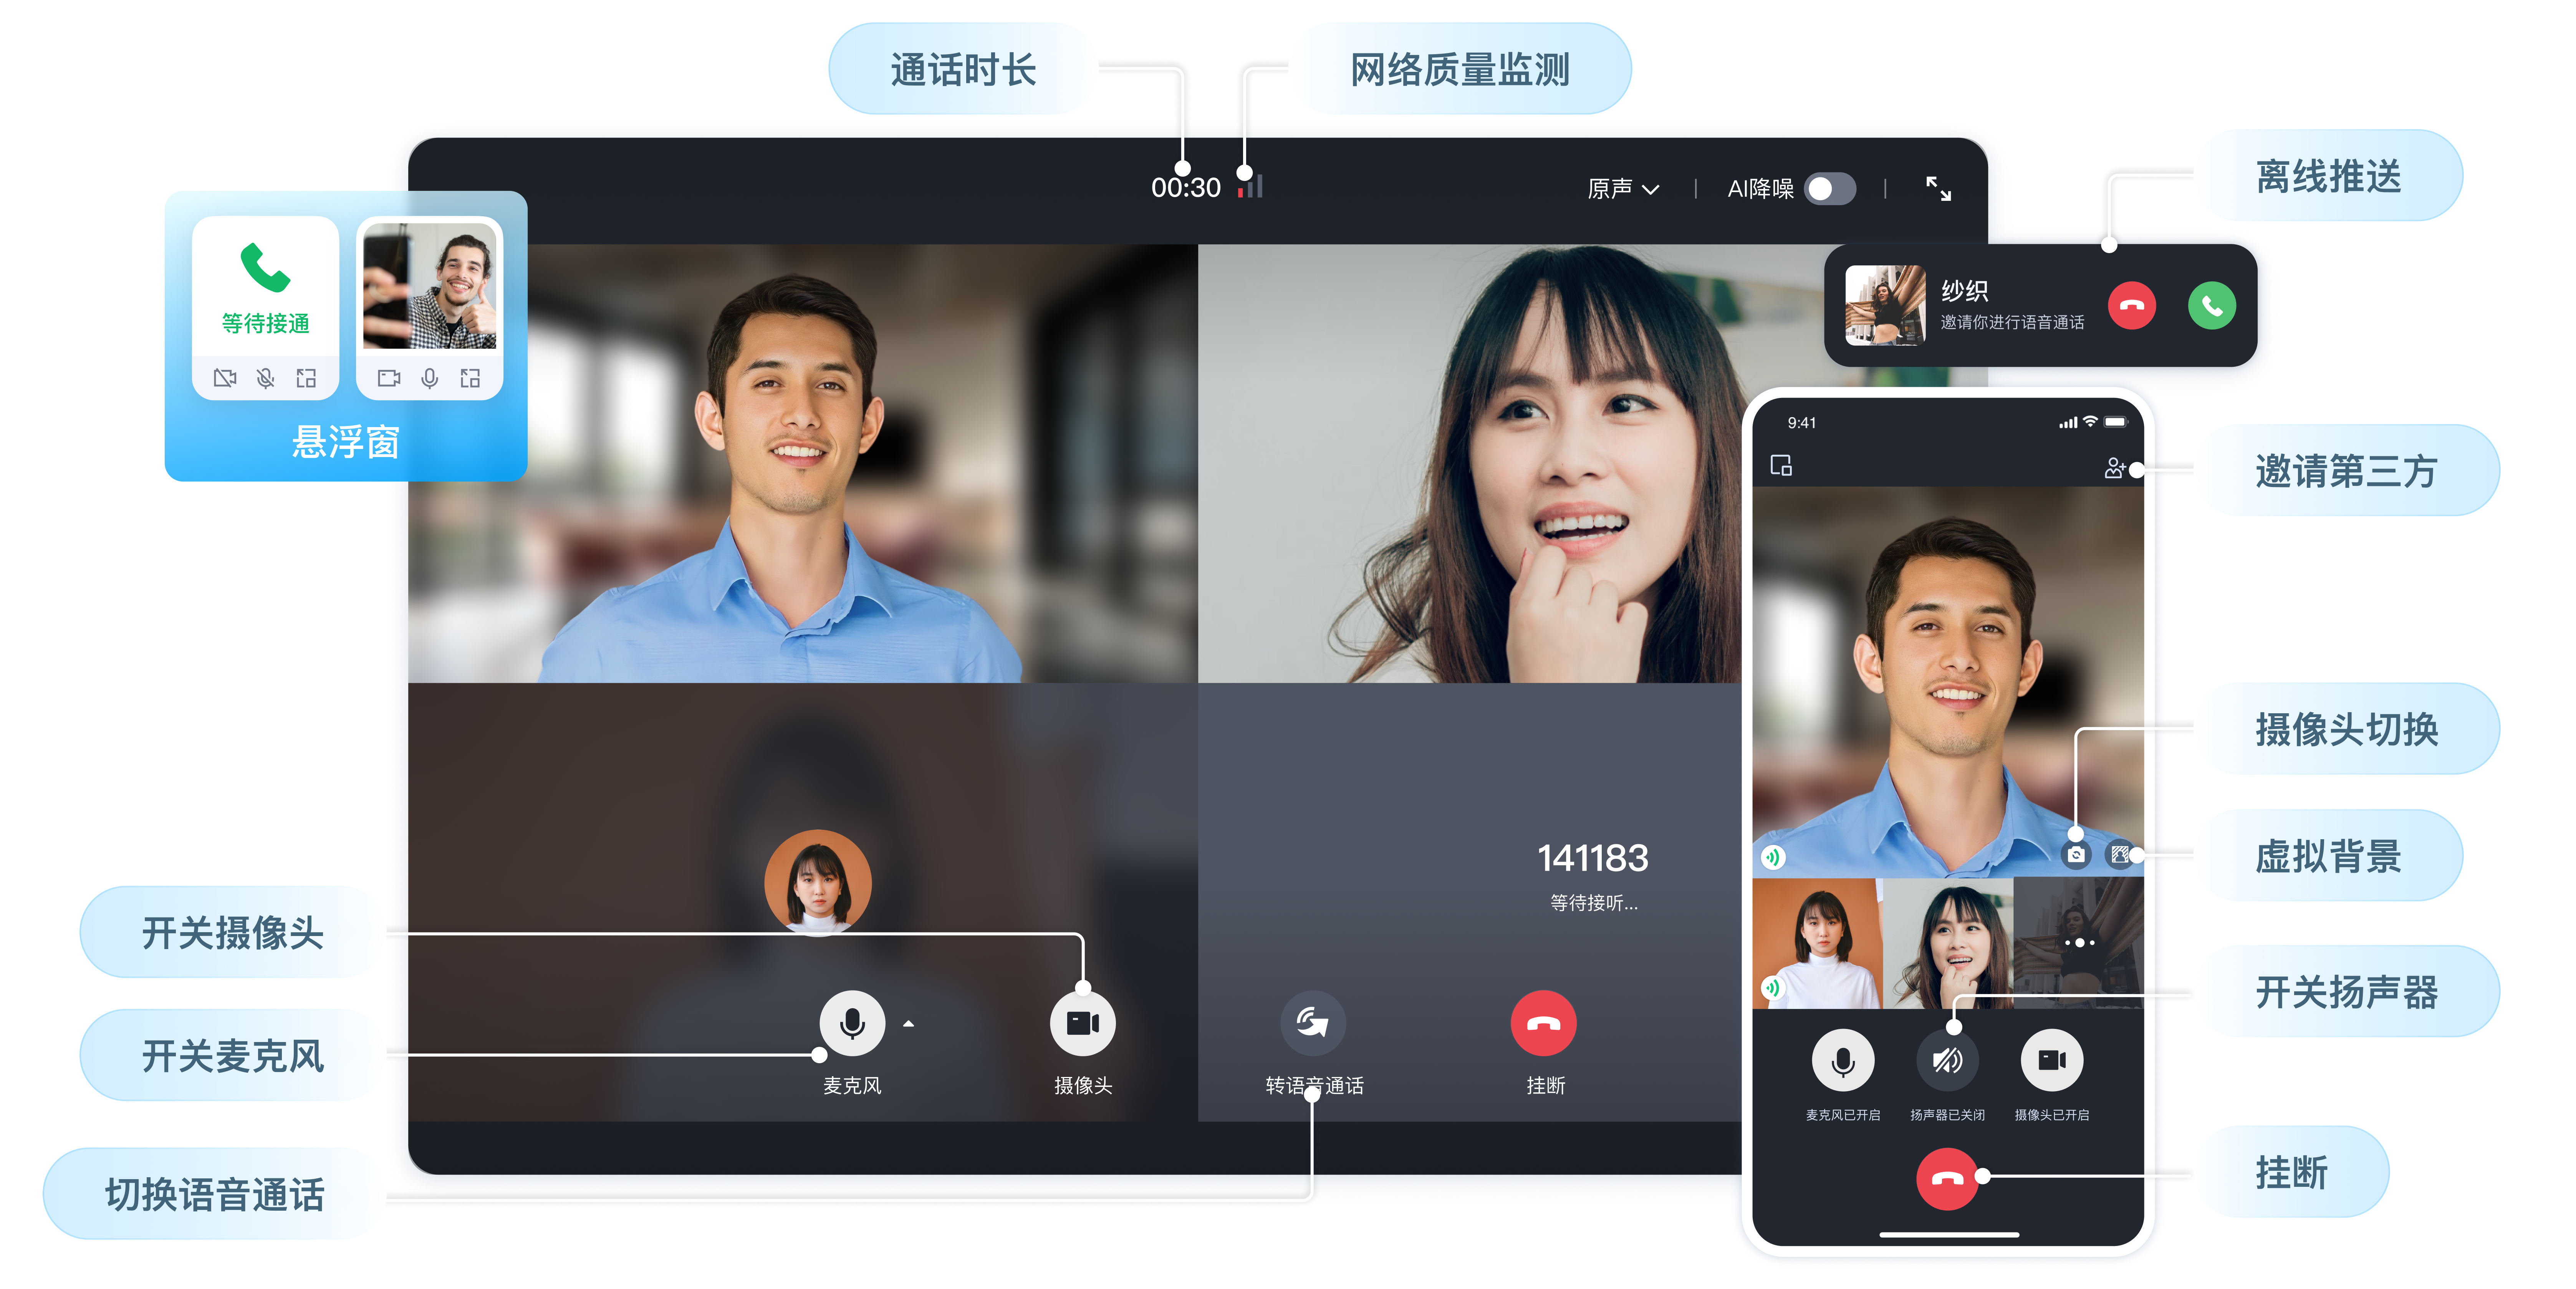
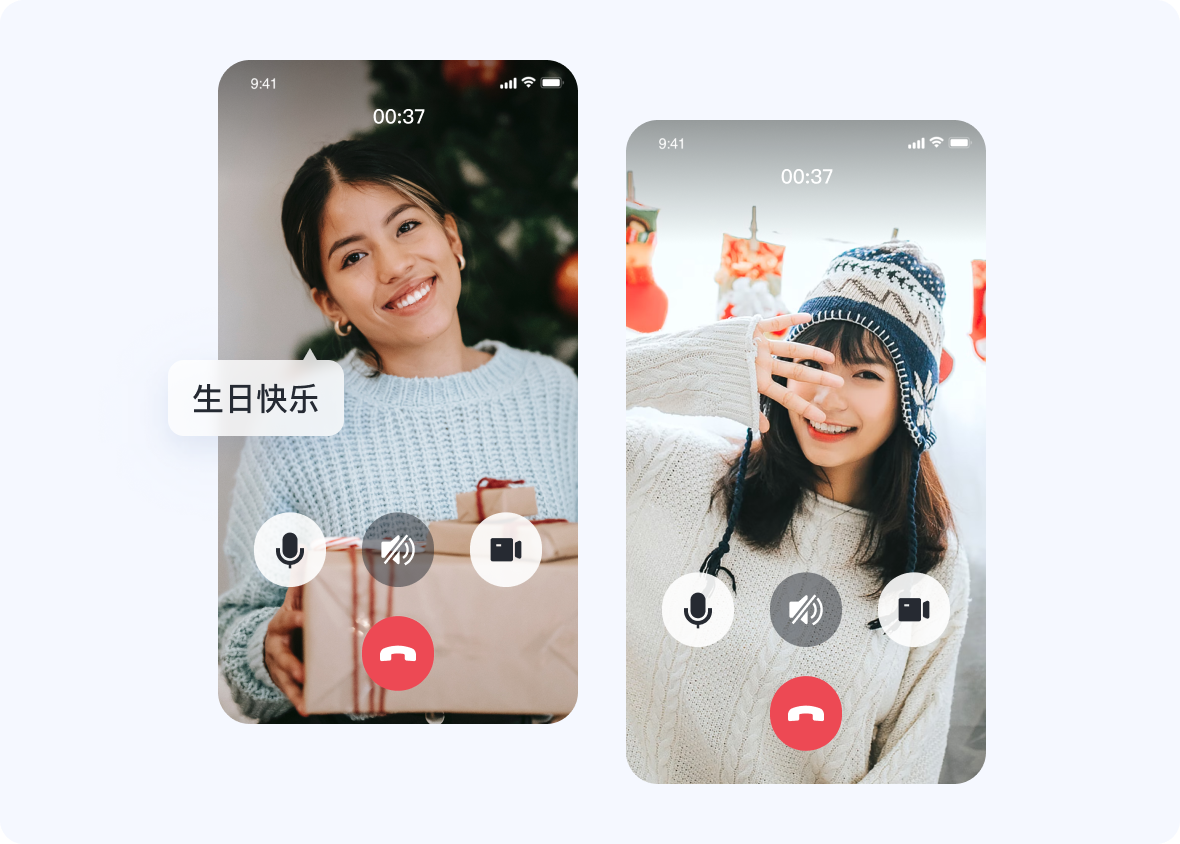
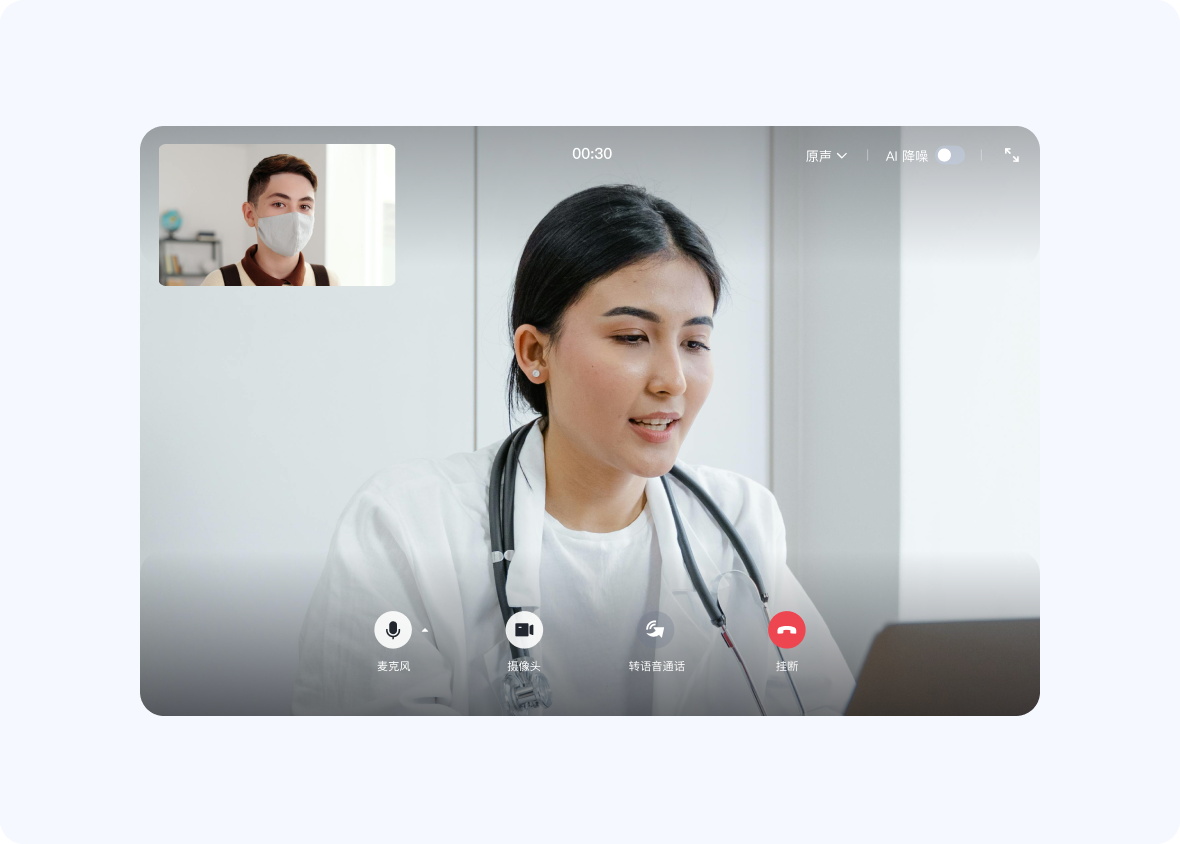
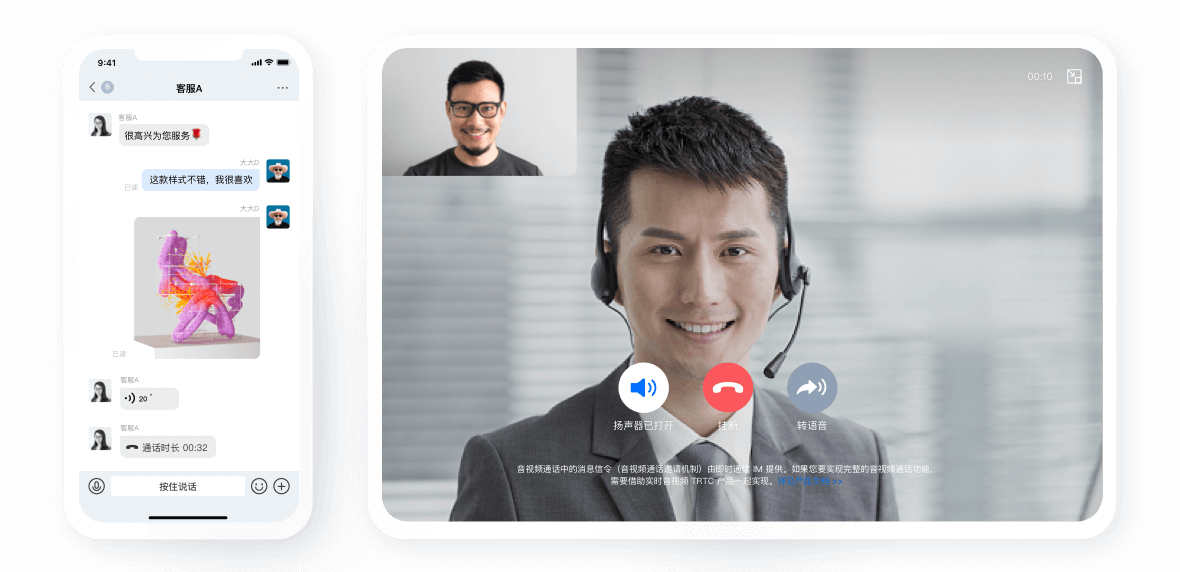
本文将介绍如何定制 TUICallKit 的用户界面,我们提供了两个方案供您选择:界面微调方案和自实现 UI 方案。
方案一:界面微调方案
按钮隐藏
注意:
v3.2.9+ 支持。
以隐藏摄像头按钮为例。
import { TUICallKitServer, FeatureButton } from "@tencentcloud/call-uikit-vue";TUICallKitServer.hideFeatureButton(FeatureButton.Camera);
import { TUICallKitServer, FeatureButton } from "@tencentcloud/call-uikit-vue2";TUICallKitServer.hideFeatureButton(FeatureButton.Camera);
import { TUICallKitServer, FeatureButton } from "@tencentcloud/call-uikit-vue2.6";TUICallKitServer.hideFeatureButton(FeatureButton.Camera);
import { TUICallKitServer, FeatureButton } from "@tencentcloud/call-uikit-react";TUICallKitServer.hideFeatureButton(FeatureButton.Camera);
自定义通话背景图
通话背景图会在语音通话或者视频通话关闭摄像头后出现,通过调用 setLocalViewBackgroundImage 修改本地用户通话界面背景图,setRemoteViewBackgroundImage 修改远端用户通话界面背景图。
注意:
v3.2.9+ 支持。
import { TUICallKitServer } from "@tencentcloud/call-uikit-vue";TUICallKitServer.setLocalViewBackgroundImage('http://xxx.png');TUICallKitServer.setRemoteViewBackgroundImage('remoteUserId', 'http://xxx.png');
import { TUICallKitServer } from "@tencentcloud/call-uikit-react";TUICallKitServer.setLocalViewBackgroundImage('http://xxx.png');TUICallKitServer.setRemoteViewBackgroundImage('remoteUserId', 'http://xxx.png');
设置布局
注意:
仅 1V1 视频通话可用,v3.3.0+ 支持。
1. LocalInLargeView layout,本地用户在大窗:
2. RemoteInLargeView layout,远端用户在大窗:
import { TUICallKitServer, LayoutMode } from "@tencentcloud/call-uikit-vue";TUICallKitServer.setLayoutMode(LayoutMode.LocalInLargeView);
import { TUICallKitServer, LayoutMode } from "@tencentcloud/call-uikit-react";TUICallKitServer.setLayoutMode(LayoutMode.LocalInLargeView);
设置摄像头初始状态
注意:
v3.3.0+ 支持。
以默认关闭摄像头为例:
import { TUICallKitServer } from "@tencentcloud/call-uikit-vue";TUICallKitServer.setCameraDefaultState(false);
import { TUICallKitServer } from "@tencentcloud/call-uikit-react";TUICallKitServer.setCameraDefaultState(false);
替换图标
替换图标需要先源码引入,将组件拷贝到您的项目中(源码为 TypeScript 版本)。
注意:
替换图标适用于
Vue + Typescript
项目且 Callkit
版本号 ≥ 3.2.2,若您采用其他语言或者技术栈,请使用自实现 UI 方案。1. 下载源码
npm install @tencentcloud/call-uikit-vue
2. 将源码拷贝到自己的项目中,以拷贝到
src/components/
目录为例:mkdir -p ./src/components/TUICallKit && cp -r ./node_modules/@tencentcloud/call-uikit-vue/* ./src/components/TUICallKit
xcopy .\\node_modules\\@tencentcloud\\call-uikit-vue .\\src\\components\\TUICallKit /i /e
3. 修改引入路径
import { TUICallKit, TUICallKitServer, TUICallType } from "./components/TUICallKit/src/index";
4.
解决源码拷贝可能导致的报错
如果您在使 TUICallKit 组件时遇到了报错,请不要担心,大多数情况下这是由于 ESLint 和 TSConfig 配置不一致造成的。您可以查阅文档,按照要求正确配置即可。如果您需要帮助,请随时联系我们,我们将确保您能够成功地使用此组件。以下是几个常见的问题:
若 TUICallKit 与您项目的代码风格不一致导致报错,可将本组件目录屏蔽,如在项目根目录增加
.eslintignore
文件,如:# .eslintignoresrc/components/TUICallKit
1. 如遇 Cannot find module '../package.json' 报错,是因为 TUICallKit 内引用了 JSON 文件,可在 tsconfig.json 中添加相关配置,示例:
{"compilerOptions": {"resolveJsonModule": true}}
2. 如遇 Uncaught SyntaxError: Invalid or unexpected token 报错,是因为 TUICallKit 使用了装饰器,可在 tsconfig.json 中添加相关配置,示例:
{"compilerOptions": {"experimentalDecorators": true}}
5. 修改 TUICallKit/Components/assets 文件夹下的图标组件
注意:
为了确保整个应用中的图标色调风格保持一致,请在替换时保持图标文件的名字不变。
序号 | 资源路径 |
1 | /TUICallKit/Components/assets/button/camera-close.svg |
2 | /TUICallKit/Components/assets/button/microphone-open.svg |
3 | /TUICallKit/Components/assets/button/speaker-open.svg |
4 | /TUICallKit/Components/assets/button/desktop/inviteUser.svg |
5 | /TUICallKit/Components/assets/button/hangup.svg |
6 | /TUICallKit/Components/assets/button/desktop/minimize.svg |
7 | /TUICallKit/Components/assets/button/desktop/fullScreen.svg |
序号 | 资源路径 |
1 | /TUICallKit/Components/assets/button/mobile/minimize.svg |
2 | /TUICallKit/Components/assets/button/hangup.svg |
3 | /TUICallKit/Components/assets/button/accept.svg |
4 | /TUICallKit/Components/assets/button/microphone-open.svg |
5 | /TUICallKit/Components/assets/button/speaker-open.svg |
6 | /TUICallKit/Components/assets/button/camera-close.svg |
7 | /TUICallKit/Components/assets/button/switchCamera.svg |
方案二:自实现 UI 方案
TUICallKit 的整个通话功能是基于 TUICallEngine 这个无 UI SDK 实现的,您可以完全基于 TUICallEngine 实现一套自己的 UI 界面。详情可见: