Etcd-多种方式部署


作者介绍:简历上没有一个精通的运维工程师,下面的思维导图也是预计更新的内容和当前进度(不定时更新)。
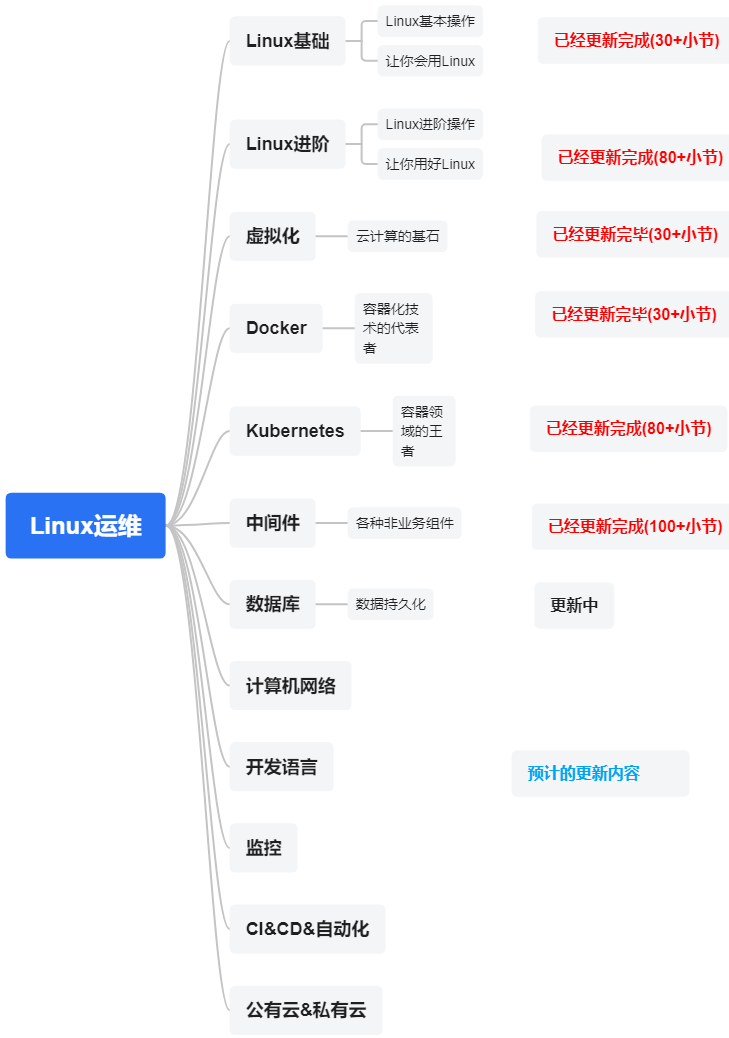
数据库是一个系统(应用)最重要的资产之一,所以我们的数据库将从以下几个数据库来进行介绍。
MySQL
PostgreSQL
MongoDB
Redis
Etcd(本章节)
我们上个小节介绍了Etcd,本小节就来介绍他的多种安装方法:Yum和二进制方式部署。
1.Yum安装
安装
yum -y install etcd启动
systemctl start etcd
systemctl enable etcd
检查Etcd
这个是默认启动以后的参数,这些参数实际来源于对于的配置文件:/etc/etcd.conf。
 /usr/bin/etcd \
 --name=default \
 --data-dir=/var/lib/etcd/default.etcd \
 --listen-client-urls=http://localhost:2379
2379端口是用对外服务。
2380则是在集群环境下节点通信使用。
链接Etcd
# 设置环境变量(推荐)
export ETCDCTL_API=3
export ETCDCTL_ENDPOINTS=http://localhost:2379

# 基本连接测试
etcdctl endpoint health
etcdctl endpoint status

# 或者直接在命令中指定端点
etcdctl --endpoints=http://localhost:2379 put key value
etcdctl --endpoints=http://localhost:2379 get key
2.二进制安装
下载
# 定义要下载的版本
ETCD_VERSION="v3.5.0"

# 创建临时目录并进入
cd /tmp

# 下载 etcd 压缩包
wget https://github.com/etcd-io/etcd/releases/download/${ETCD_VERSION}/etcd-${ETCD_VERSION}-linux-amd64.tar.gz

# 如果 wget 不可用,也可以用 curl
# curl -L https://github.com/etcd-io/etcd/releases/download/${ETCD_VERSION}/etcd-${ETCD_VERSION}-linux-amd64.tar.gz -o etcd.tar.gz
解压
tar xvf etcd-v3.5.0-linux-amd64.tar.gz
cd etcd-v3.5.0-linux-amd64
启动
这里是前台启动,能够直接看到启动状态。
./etcd \
  --data-dir=/tmp/etcd-data \
  --listen-client-urls=http://localhost:2379 \
  --advertise-client-urls=http://localhost:2379 \
  --listen-peer-urls=http://localhost:2380 \
  --initial-cluster=default=http://localhost:2380
当然也可以把这些参数,使用到systemd方式配置
本文参与 腾讯云自媒体同步曝光计划,分享自微信公众号。
原始发表:2026-02-05,如有侵权请联系 cloudcommunity@tencent.com 删除
评论
登录后参与评论
推荐阅读
目录
腾讯云开发者

Copyright © 2013 - 2026 Tencent Cloud. All Rights Reserved. 腾讯云 版权所有
深圳市腾讯计算机系统有限公司 ICP备案/许可证号:粤B2-20090059 ![]() 粤公网安备44030502008569号
粤公网安备44030502008569号
腾讯云计算(北京)有限责任公司 京ICP证150476号 | 京ICP备11018762号