《Nuxt.js 实战:从放弃到入门》一、项目初始,图片尺寸缩放

《Nuxt.js 实战:从放弃到入门》一、项目初始,图片尺寸缩放

小码农薛尧
发布于 2025-02-19 13:12:15
发布于 2025-02-19 13:12:15
环境准备
在开始之前,确保你的开发环境已经安装了以下工具:
- Node.js:建议安装最新的 LTS 版本,可以从 Node.js 官网 下载安装。
- npm 或 yarn:npm 会随着 Node.js 一起安装,yarn 可以通过
npm install -g yarn进行全局安装。
同时,为了方便管理 Node.js 版本,推荐安装 nvm(Node Version Manager),安装命令如下:
curl -o- https://raw.githubusercontent.com/nvm-sh/nvm/v0.39.5/install.sh | bash
安装完成后,重新打开终端或者执行 source ~/.nvm/nvm.sh 使其生效。
创建 Nuxt.js 项目
环境搭建好后,就可以开始创建 Nuxt.js 项目啦。打开终端,依次执行下面这些命令:
mkdir outeasy
cd outeasy
npx nuxi@latest init
npm install
这些命令分别是什么意思呢?
- mkdir outeasy:创建一个名为outeasy的文件夹,用来存放我们的项目文件。
- cd outeasy:进入刚刚创建的outeasy文件夹,后续的操作都在这个目录下进行。
- npx nuxi@latest init:使用 npx 工具调用 nuxi ,把当前目录初始化为一个 Nuxt.js 项目。npx是 npm 5.2.0 引入的一个工具,它能直接运行依赖包,不用提前全局安装。
- npm install:安装项目所需要的各种依赖包。这些依赖包是项目运行必不可少的,比如 Nuxt.js 的核心模块、各种插件等。
项目初始结构与页面
项目创建好后,会有一些初始文件。
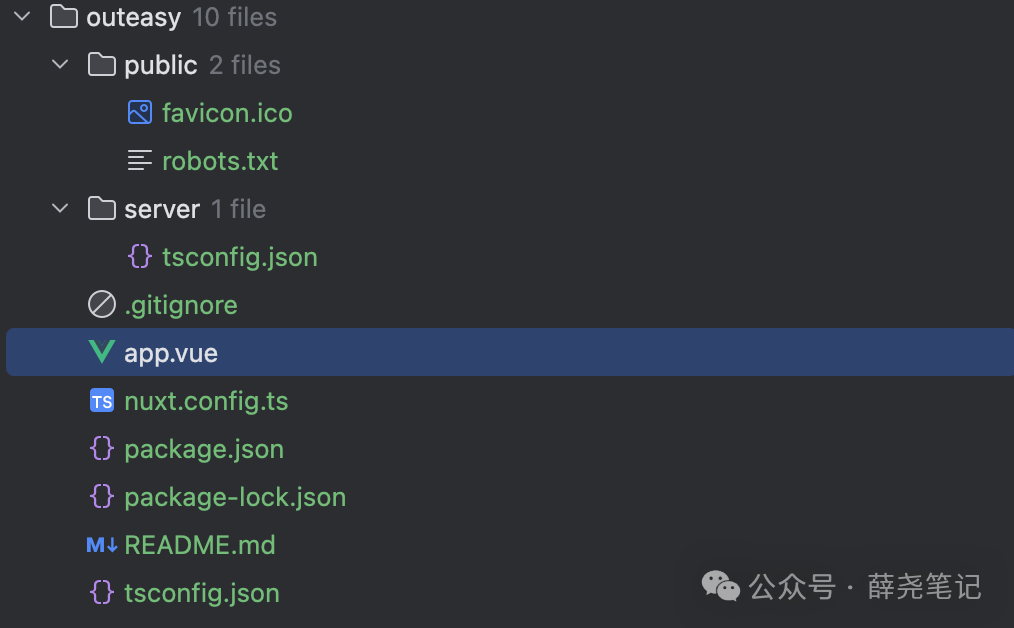
tmplo44llql.png
比如app.vue文件,它的初始代码如下:
<template>
  <div>
    <NuxtRouteAnnouncer />
    <NuxtWelcome />
  </div>
</template>
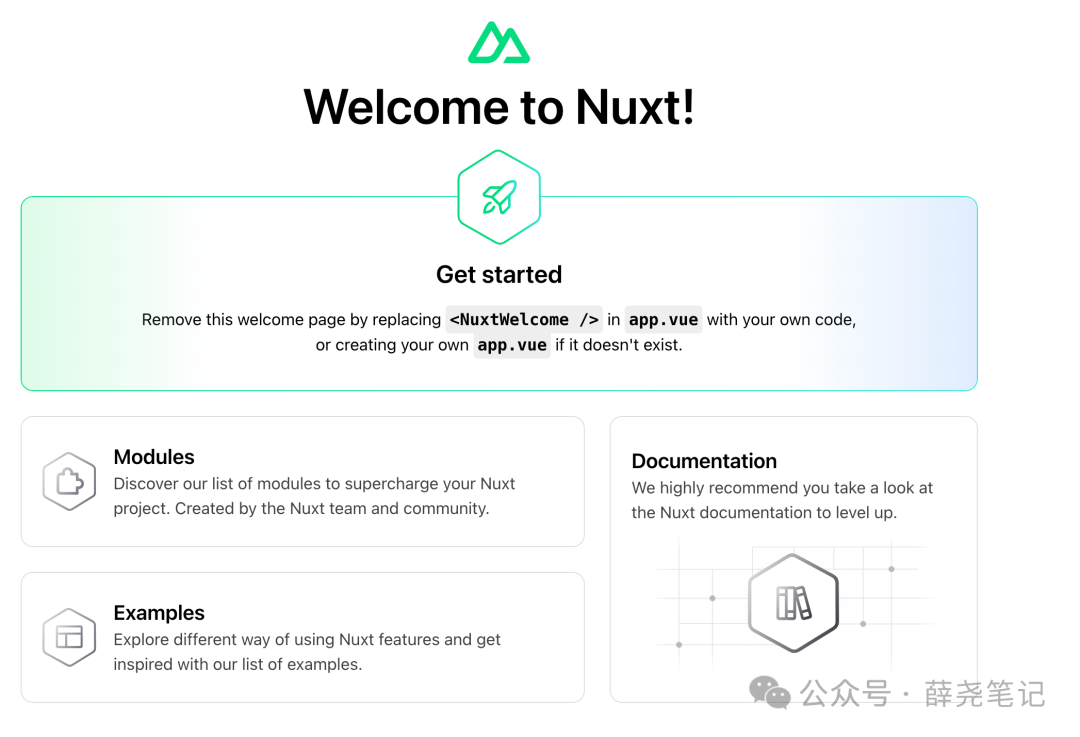
执行npm run dev启动服务,就能在浏览器里看到默认页面了。
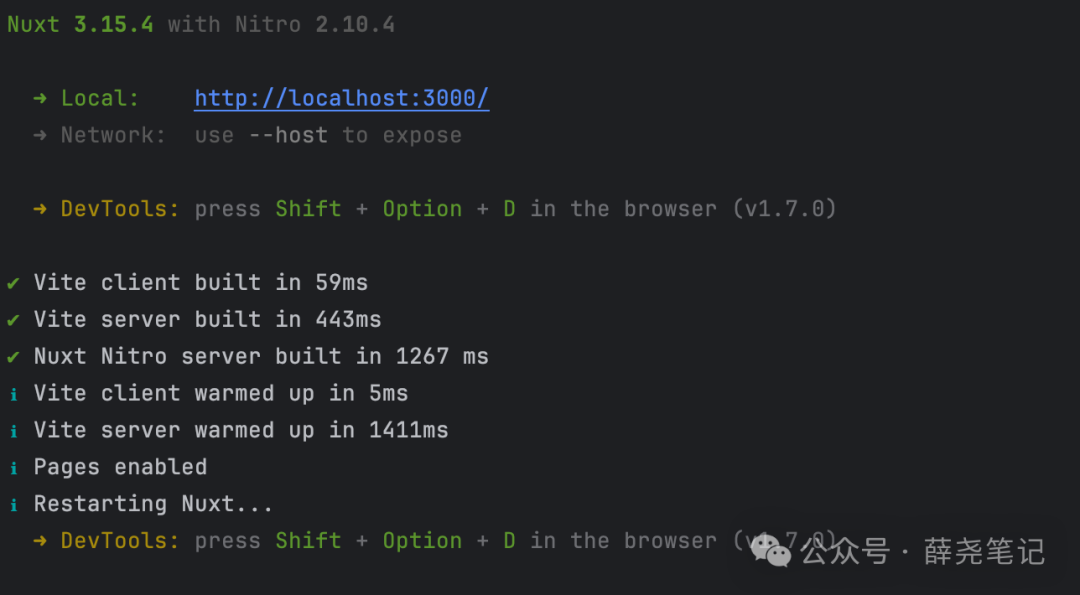
tmpui3_
这个默认页面是 Nuxt.js 帮我们生成的,展示了一些基本信息。
tmpwl8h43rs.png
添加图片处理页面
现在,我们要给项目添加一个新页面,这个页面能上传图片、调整图片大小,还能提供下载。
首先,创建pages目录,并在里面创建resize.vue文件。pages目录在 Nuxt.js 里很重要,Nuxt.js 会根据这个目录下的文件自动生成路由。
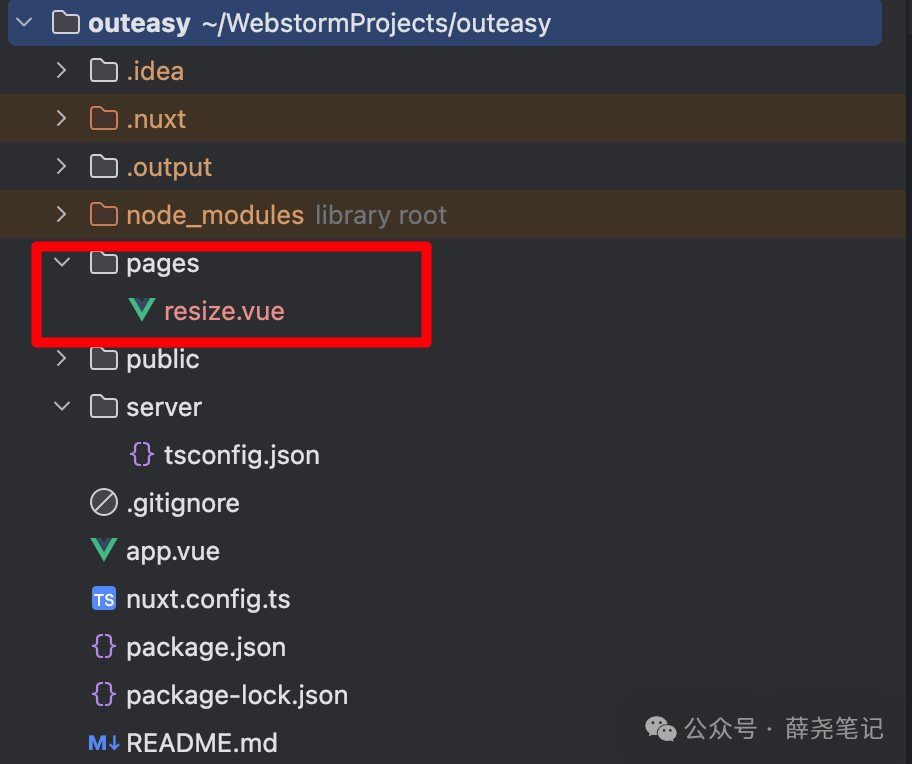
tmpwh5d0ttn.png
resize.vue的内容如下:
<template>
  <div class="container mx-auto p-4 max-w-2xl">
    <h1 class="text-2xl font-bold mb-6">图片尺寸调整</h1>

    <!-- 图片上传区域 -->
    <div
      class="border-2 border-dashed border-gray-300 rounded-lg p-8 mb-6 text-center"
      @drop.prevent="handleDrop"
      @dragover.prevent
      @dragenter.prevent
    >
      <input
        type="file"
        ref="fileInput"
        @change="handleFileSelect"
        accept="image/*"
        class="hidden"
      />
      <div v-if="isLoading" class="text-center py-8">
        <div class="inline-block animate-spin rounded-full h-8 w-8 border-4 border-blue-500 border-t-transparent"></div>
        <p class="mt-2 text-gray-600">正在处理图片...</p>
      </div>

      <div v-else-if="errorMessage" class="text-center py-8">
        <p class="text-red-500">{{ errorMessage }}</p>
        <button
          @click="errorMessage = '';"
          class="mt-4 text-blue-500 hover:text-blue-600"
        >
          重试
        </button>
      </div>

      <div v-else-if="!imageUrl" class="space-y-4">
        <div class="text-gray-500">
          拖拽图片到此处或
          <button
            @click="$refs.fileInput.click()"
            class="text-blue-500 hover:text-blue-600"
          >
            点击上传
          </button>
        </div>
        <p class="text-sm text-gray-400">支持 JPG、PNG 格式</p>
      </div>
      <img
        v-else
        :src="imageUrl"
        class="max-w-full max-h-[300px] mx-auto"
        alt="预览图"
      />
    </div>

    <!-- 尺寸调整控制面板 -->
    <div v-if="imageUrl" class="space-y-4">
      <div class="flex space-x-4">
        <div class="flex-1">
          <label class="block text-sm font-medium text-gray-700 mb-1">宽度 (px)</label>
          <input
            type="number"
            v-model="width"
            @input="handleWidthChange"
            class="w-full px-3 py-2 border border-gray-300 rounded-md"
          />
        </div>
        <div class="flex-1">
          <label class="block text-sm font-medium text-gray-700 mb-1">高度 (px)</label>
          <input
            type="number"
            v-model="height"
            @input="handleHeightChange"
            class="w-full px-3 py-2 border border-gray-300 rounded-md"
          />
        </div>
      </div>

      <div class="flex items-center space-x-2">
        <input
          type="checkbox"
          id="maintainAspectRatio"
          v-model="maintainAspectRatio"
          class="rounded text-blue-500"
        />
        <label for="maintainAspectRatio" class="text-sm text-gray-700">
          保持宽高比
        </label>
      </div>

      <button
        @click="downloadImage"
        class="w-full bg-blue-500 text-white py-2 px-4 rounded-md hover:bg-blue-600 transition-colors"
      >
        下载调整后的图片
      </button>
    </div>
  </div>
</template>

<script setup>
import { ref, onMounted } from 'vue'

const fileInput = ref(null)
const imageUrl = ref('')
const width = ref(0)
const height = ref(0)
const maintainAspectRatio = ref(true)
const aspectRatio = ref(1)
const isLoading = ref(false)
const errorMessage = ref('')

// 文件大小限制(10MB)
const MAX_FILE_SIZE = 10 * 1024 * 1024
// 支持的图片格式
const SUPPORTED_FORMATS = ['image/jpeg', 'image/png', 'image/webp']

// 处理文件选择
const handleFileSelect = (event) => {
  const file = event.target.files[0]
  if (file) {
    processImage(file)
  }
}

// 处理拖拽上传
const handleDrop = (event) => {
  const file = event.dataTransfer.files[0]
  if (file && file.type.startsWith('image/')) {
    processImage(file)
  }
}

// 处理图片
const validateFile = (file) => {
  if (!SUPPORTED_FORMATS.includes(file.type)) {
    errorMessage.value = '请上传 JPG、PNG 或 WebP 格式的图片'
    return false
  }
  if (file.size > MAX_FILE_SIZE) {
    errorMessage.value = '图片大小不能超过 10MB'
    return false
  }
  errorMessage.value = ''
  return true
}

const processImage = (file) => {
  if (!validateFile(file)) return

  isLoading.value = true
  errorMessage.value = ''

  const reader = new FileReader()
  reader.onload = (e) => {
    const img = new Image()
    img.onload = () => {
      width.value = img.width
      height.value = img.height
      aspectRatio.value = img.width / img.height
      isLoading.value = false
    }
    img.onerror = () => {
      errorMessage.value = '图片加载失败,请重试'
      isLoading.value = false
    }
    img.src = e.target.result
    imageUrl.value = e.target.result
  }
  reader.onerror = () => {
    errorMessage.value = '图片读取失败,请重试'
    isLoading.value = false
  }
  reader.readAsDataURL(file)
}

// 处理宽度变化
const handleWidthChange = () => {
  if (maintainAspectRatio.value) {
    height.value = Math.round(width.value / aspectRatio.value)
  }
}

// 处理高度变化
const handleHeightChange = () => {
  if (maintainAspectRatio.value) {
    width.value = Math.round(height.value * aspectRatio.value)
  }
}

// 下载调整后的图片
const downloadImage = () => {
  const canvas = document.createElement('canvas')
  canvas.width = width.value
  canvas.height = height.value

  const ctx = canvas.getContext('2d')
  const img = new Image()
  img.onload = () => {
    ctx.drawImage(img, 0, 0, width.value, height.value)
    const link = document.createElement('a')
    link.download = 'resized-image.png'
    link.href = canvas.toDataURL('image/png')
    link.click()
  }
  img.src = imageUrl.value
}
</script>
这个页面代码比较长,大致分为两部分:模板(template)和脚本(script)。模板部分定义了页面的结构和样式,包括图片上传区域、尺寸调整控制面板;脚本部分用 Vue 的组合式 API 定义了各种功能逻辑,比如文件选择处理、图片处理、尺寸调整、图片下载等。
添加完resize.vue后,还需要修改app.vue文件,移除NuxtWelcome组件,只保留NuxtPage组件,确保路由能正确渲染我们的图片尺寸调整页面。修改后的app.vue如下:
<template>
  <div>
    <NuxtPage />
  </div>
</template>
测试图片处理功能
完成上述步骤后,重新启动服务,然后就可以测试图片处理功能了。上传图片,输入想要调整的宽度和高度,勾选或不勾选 “保持宽高比”,点击 “下载调整后的图片”,就能得到处理后的图片。
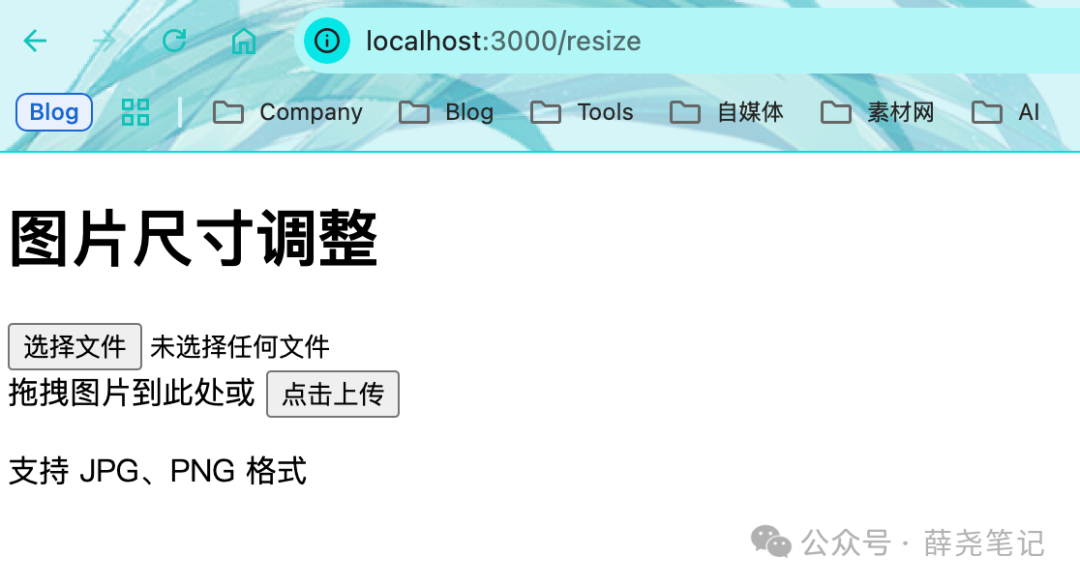
tmp6brwa29g.png
上传图片

tmpst6u_
打开处理后的图片
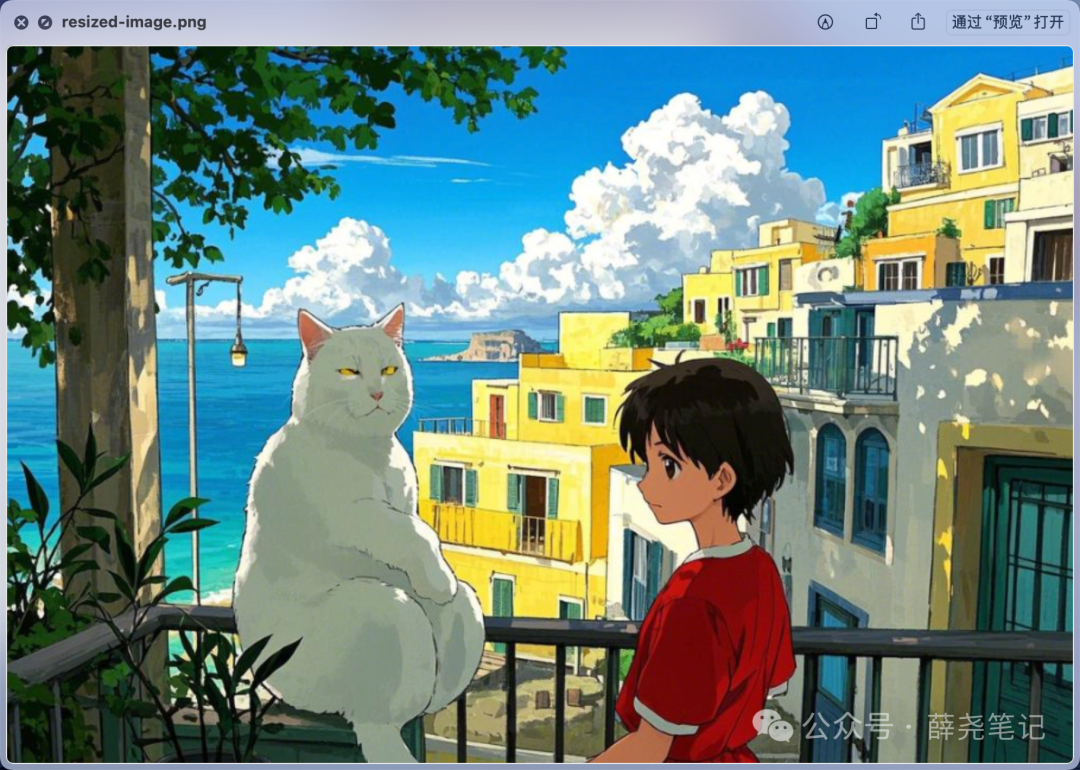
tmpc9ml8xts.png
托管地址:https://github.com/outeasy/outeasy/releases/tag/v0.1
本文参与 腾讯云自媒体同步曝光计划,分享自微信公众号。
原始发表:2025-02-17,如有侵权请联系 cloudcommunity@tencent.com 删除
评论
登录后参与评论
推荐阅读
目录
腾讯云开发者

Copyright © 2013 - 2026 Tencent Cloud. All Rights Reserved. 腾讯云 版权所有
深圳市腾讯计算机系统有限公司 ICP备案/许可证号:粤B2-20090059 ![]() 粤公网安备44030502008569号
粤公网安备44030502008569号
腾讯云计算(北京)有限责任公司 京ICP证150476号 | 京ICP备11018762号