【JS】基于hexo搭建个人博客并添加域名

【JS】基于hexo搭建个人博客并添加域名

DevFrank
发布于 2024-07-24 15:15:48
发布于 2024-07-24 15:15:48
快速搭建博客的框架有Hexo,Jekyll,Wordpress等等。下面就用Hexo来实现一下。
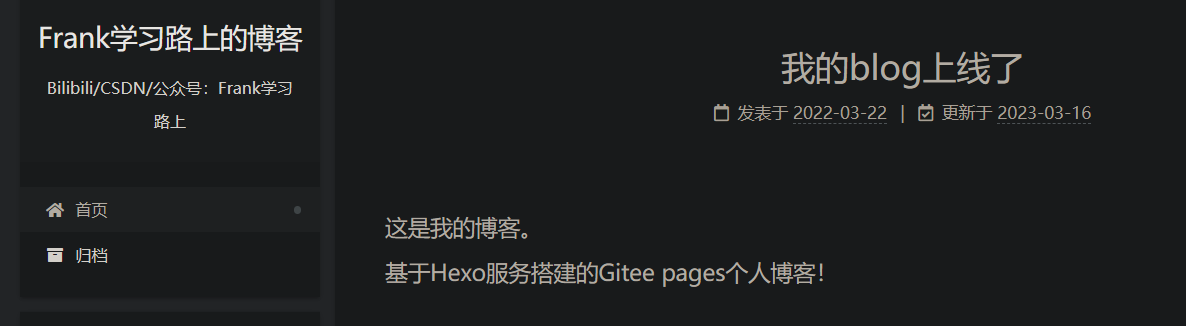
在这里插入图片描述
贴一下我的博客:
https://frankwang98.gitee.io/
https://frankwang98.github.io/
https://frankwang98.top/文章目录- 1. Hexo介绍
- 2. 环境搭建
- Windows
- Linux
- 3. Hexo创建博客示例
- 4. 将博客同步到github/gitee仓库
- 5. 模板与美化
- 6. 绑定自定义域名
- Windows
- Linux
1. Hexo介绍
Hexo是一个快速、简单且强大的博客快速生产工具。
地址:https://hexo.io/zh-cn/index.html
2. 环境搭建
环境包括Nodejs、git,在此基础上安装hexo。
Windows
Nodejs国内下载地址:https://mirrors.huaweicloud.com/nodejs/v18.12.1/node-v18.12.1-x64.msi
git国内下载地址:https://registry.npmmirror.com/-/binary/git-for-windows/v2.38.0-rc0.windows.1/Git-2.38.0-rc0-64-bit.exe
Linux
Nodejs下载地址:国外站-https://nodejs.org/en/ 国内源-https://mirrors.huaweicloud.com/nodejs/v16.14.2/
下载好后,tar -xf XXX.tar.xz解压缩;进入node文件夹的bin目录下,建立索引
sudo ln -s /home/XXX/node/bin/npm /usr/local/bin/ sudo ln -s /home/XXX/node/bin/node /usr/local/bin/
设置成功后,检查版本号 node -v ; npm -v
设置国内源:npm config set registry http://registry.npmmirror.com
git安装:sudo apt-get install git
安装hexo:npm install -g hexo-cli
设置索引:sudo ln -s /home/XXX/node/lib/node_modules/hexo-cli/bin/hexo /usr/local/bin/
设置成功后,检查版本号:hexo -v
3. Hexo创建博客示例
新建博客目录并初始化:
mkdir blog              创建一个文件夹用来放博客文件
cd blog && hexo init .  进入blog并初始化
npm install             初始化组件
hexo s                  本地测试,进入http://localhost:4000
初始化后的目录结构如下:
.
├── _config.yml # 网站配置信息
├── package.json # 应用程序信息
├── scaffolds # 模板文件夹
├── source # 存放用户资源
|   ├── _drafts
|   └── _posts
└── themes # 主题文件夹
写一篇自己的博客:
hexo n "XXX"    				写一篇自己的博客
cd source/_posts/   			创建的新博客存放在这里了,支持Markdown语法写作
hexo cl && hexo g && hexo s 	清除缓存,生成博客,本地查看
hexo常用指令:
hexo clean
//清空缓存
hexo generate
hexo g //简写
//重新编译
hexo server
hexo s //简写
//打开本地访问
hexo new <layout> "文章title"
hexo n "文章title"
//新建文章
hexo deploy
hexo d //简写
4. 将博客同步到github/gitee仓库
首先注册一个github/gitee账户,创建一个和用户名相同的仓库。
配置git:
git config --global user.name "username"
git config --global user.email "username@example.com" //注册GitHub时使用的主邮箱
ssh-keygen -t rsa -C "username@example.com"	//配置ssh,并添加到仓库中
将博客同步到git远程仓库:
git init	git初始化

npm install --save hexo-deployer-git	在blog目录下安装部署git插件

gedit _config.yml 	对blog下的_config.yml文件进行配置修改:修改最后的deploy为git地址

如:
# Deployment
## Docs: https://hexo.io/docs/one-command-deployment
deploy:
  type: git
  repo: https://gitee.com/xxx.git
  branch: master

hexo d 远程推送在gitee/github仓库中开启pages服务,加上强制https保证安全性。
部署完毕后可在https://username.gitee.io查看效果
5. 模板与美化
Hexo支持好多模板,如bufferfly,landscape,next,fluid。
模板地址:https://hexo.io/themes/
更改配置文件:
...
# Extensions
## Plugins: https://hexo.io/plugins/
## Themes: https://hexo.io/themes/
theme: butterfly
...
更改背景:
参考地址:https://wall.alphacoders.com/

直接更改原文件,图片所在目录:hexo/themes/landscape/source/css/images/主题地址:https://github.com/hexojs/hexo/wiki/Themes
安装方式:
git clone <repository> themes/<theme-name>然后修改_config.yml文件中的theme名字。
npm安装:npm install --save hexo-theme-fluid
用户文档:https://hexo.fluid-dev.com/docs/
添加文档评论功能:
多说 :http://duoshuo.com/
畅言 :https://changyan.kuaizhan.com/
Valine:https://github.com/xcss/Valine
Disqus:https://disqus.com/
友言: http://www.uyan.cc/
gitment: https://github.com/imsun/gitment
gitalk: https://gitalk.github.io/
6. 绑定自定义域名
购买域名、解析:
https://buy.cloud.tencent.com/domain	域名
https://www.dnspod.cn/	解析
博客目录创建CNAME,将自己的自定义域名写进去。
最后,在云服务商一般都有免费SSL证书可以申请,申请成功后,添加到域名解析中,然后就可以到github中开启强制https服务了。
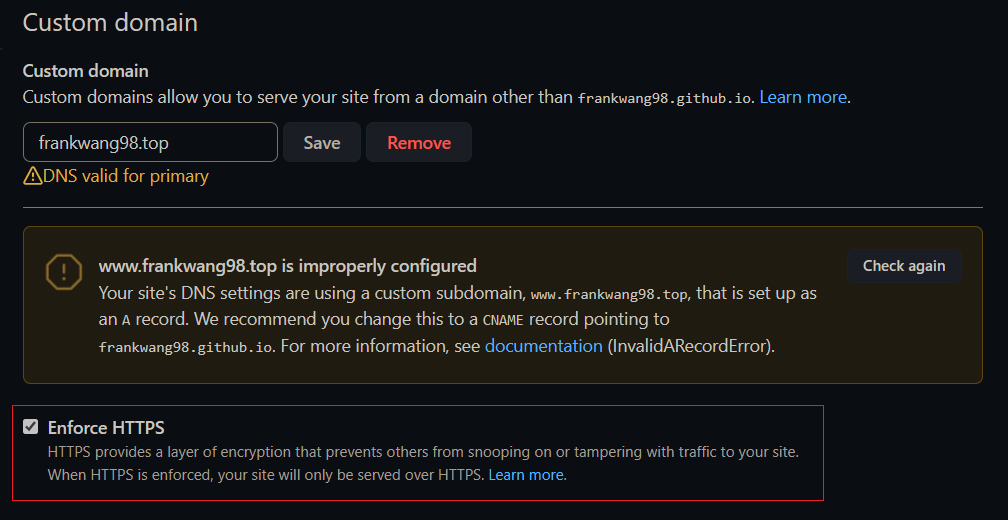
在这里插入图片描述
以上。
本文参与 腾讯云自媒体同步曝光计划,分享自作者个人站点/博客。
原始发表:2024-02-29,如有侵权请联系 cloudcommunity@tencent.com 删除
评论
登录后参与评论
推荐阅读
目录
腾讯云开发者

Copyright © 2013 - 2026 Tencent Cloud. All Rights Reserved. 腾讯云 版权所有
深圳市腾讯计算机系统有限公司 ICP备案/许可证号:粤B2-20090059 ![]() 粤公网安备44030502008569号
粤公网安备44030502008569号
腾讯云计算(北京)有限责任公司 京ICP证150476号 | 京ICP备11018762号